After your event ends, what now? Wouldn’t you like to get feedback from your attendees? Integrate your SurveyMonkey account to ask the questions you want answers to. Now we’re going to run through some steps in order to be successful using SurveyMonkey.
Head to your My Profile section and on the left click on the integrations button. After that you’ll see we have multiple integration options, but for today you’ll want to click Authorize under the Connect to SurveyMonkey section.
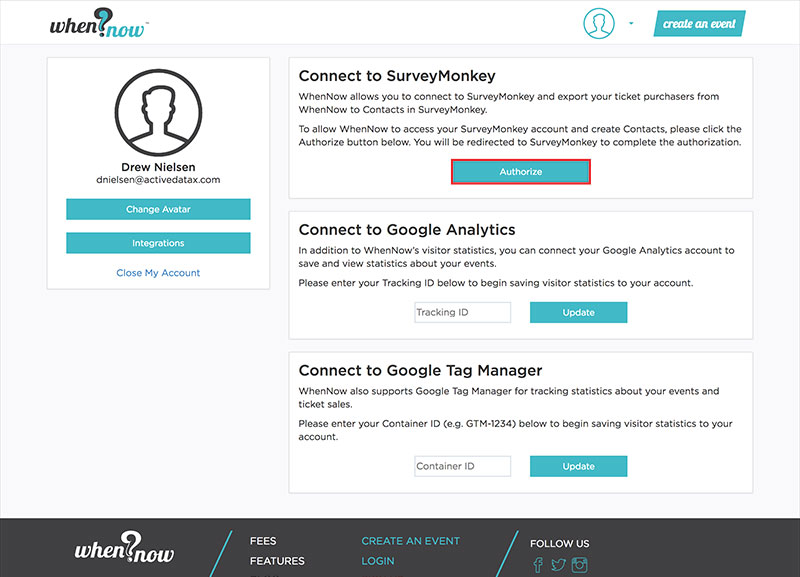
Don’t have a SurveyMonkey account yet? Visit surveymonkey.com to set one up today!
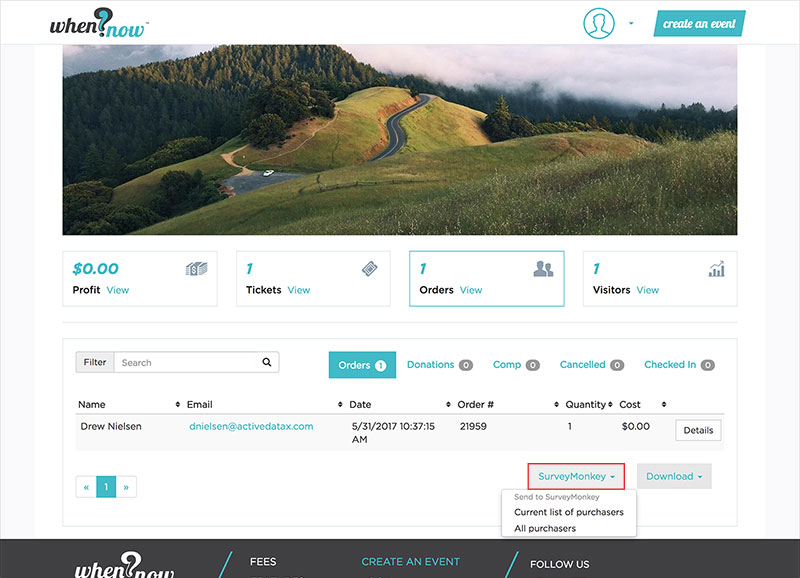
Now that your successful event has finished it’s time to export your attendees or contacts to SurveyMonkey. They will store these contacts for you once you’re ready to send out your first survey. Below is a screenshot of where and how to export. You have the ability to filter these contacts by a specific name, or you can choose all of them. You’ll find this option under the Orders section of your Event Dashboard.
Head over back to SurveyMonkey to get started. Click the Create a Survey button and follow the steps accordingly. You can ask your attendees as many or as little questions as you would like.

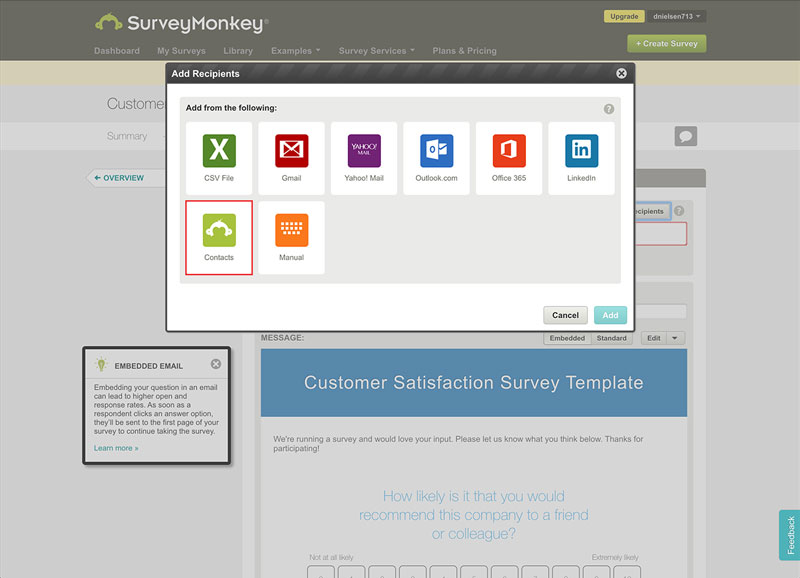
Choose how you want to gather your answers from your attendees. There are countless ways to do so via sharing a link on social media or sending by email. Today I’m going to show you how to collect your responses via email. Click Send by Email and then hit Add Recipients, you’ll then proceed by selecting the Contacts option with the SurveyMonkey logo. Followed by that you’ll choose All Contacts unless you have grouped them otherwise. (See image below)
All that’s left to do is hit Send. You can schedule your survey to be sent out immediately or at a time of your choosing.