We now give you the ability to integrate with MailChimp. MailChimp is a marketing automation platform and an email marketing service. If you don’t have an account yet please visit their site here. With this new integration you’ll be able to send emails to all of your ticket buyers. Below I’m going to show you how to setup MailChimp for your organization.
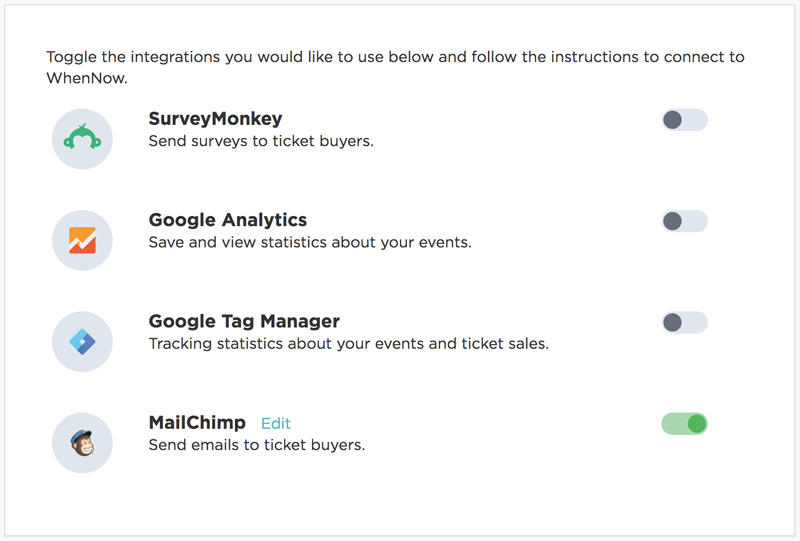
Head to the Integrations section of your newly added Organization Profile and turn on the integration by toggling the switch.
After you turn on this integration it will take you to MailChimp’s site. From there you will need to log in or create an account, if you want to create an account beforehand please visit MailChimp‘s site.

You’ll know your connection was a success if you see the following image below after clicking Log In.
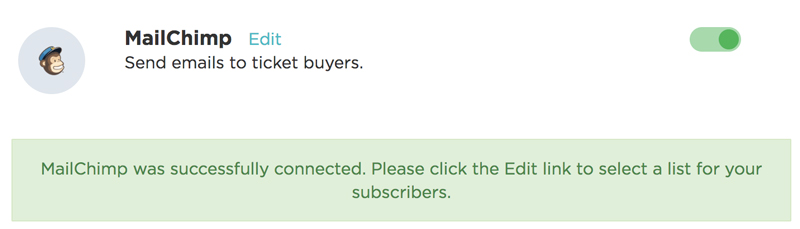
Before you’re able to select a target list for your ticket purchasers and subscribers you’ll need to create a list. To learn how to create a list in MailChimp check out this article. Once your list is created you’ll head back to the Integrations and click Edit next to the MailChimp integration title.
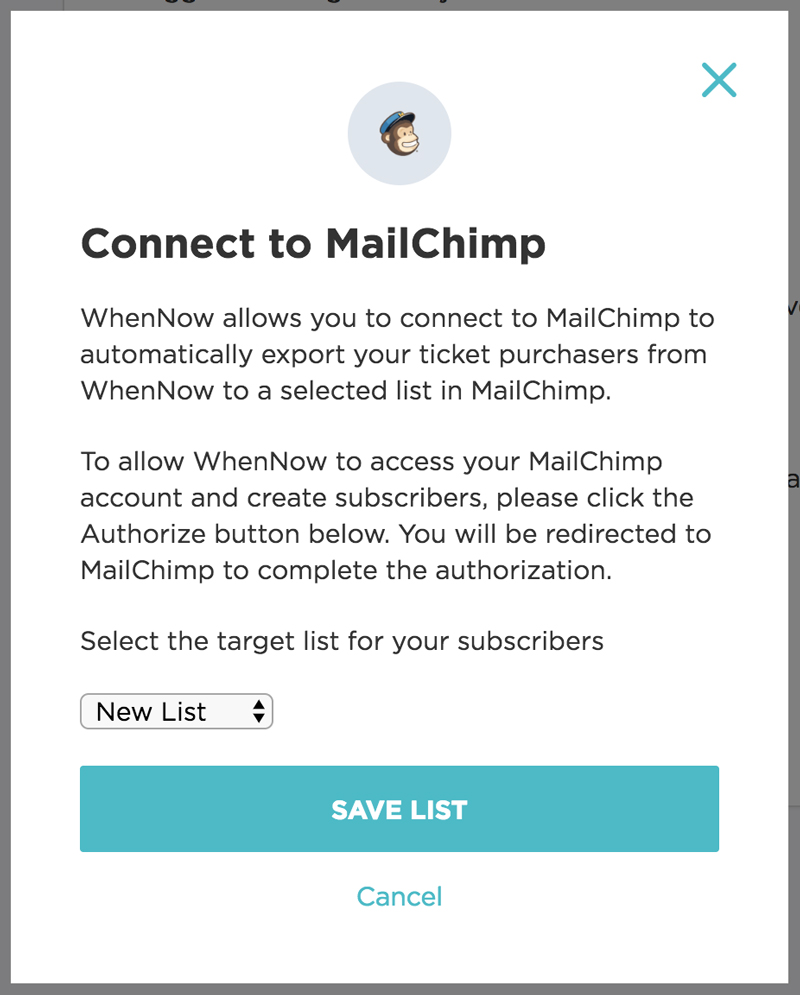
Once that pop-up appears, you’ll see a dropdown, from there you’ll select which list you would like your ticket purchasers to automatically filter into.
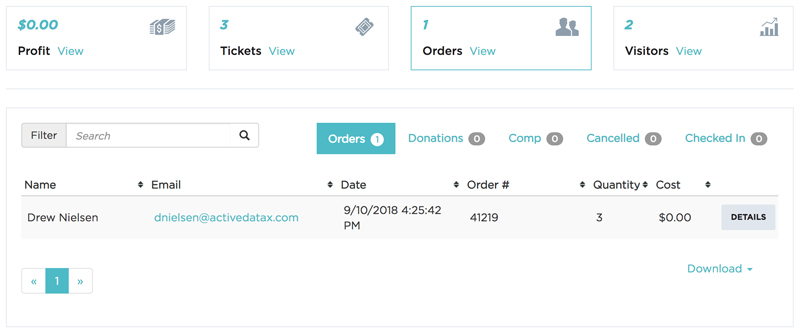
Another way to add your ticket purchasers to a specific list is by exporting a CSV of your orders.
If you head to your events Dashboard and select Orders you’ll see all of your current purchases for that specific event. At the bottom of that page you’ll select download CSV and then follow the steps that MailChimp has provided in order to import this file, here.